Create an automation with a wait time interval
Create an automation with a wait time interval.
When you create an automation workflow, you can add wait time intervals to control the pace of your workflow. For example, if your automation has several actions that send emails to your recipients, adding a waiting time allows a previous action to complete, ensuring that emails are not sent too quickly or too slowly.
To create an automation with a wait time interval:
Click Add flow step
 below any part of your workflow where you want to add a Wait a specific time interval step.
In the Select action dialog, click Conditional/Control steps.
Click
 next to the Wait a specific time interval step.
In the Wait a specific time interval dialog, click one of the following tabs:
Wait for some time - lets you specify the amount of time in minutes, hours, days, or months to wait until your automation proceeds to the next step in the workflow.

Wait until a specific date - lets you select the hour, minute, and timezone from the drop-down menus to specify the exact time to wait until your automation proceeds to the next step in the workflow.
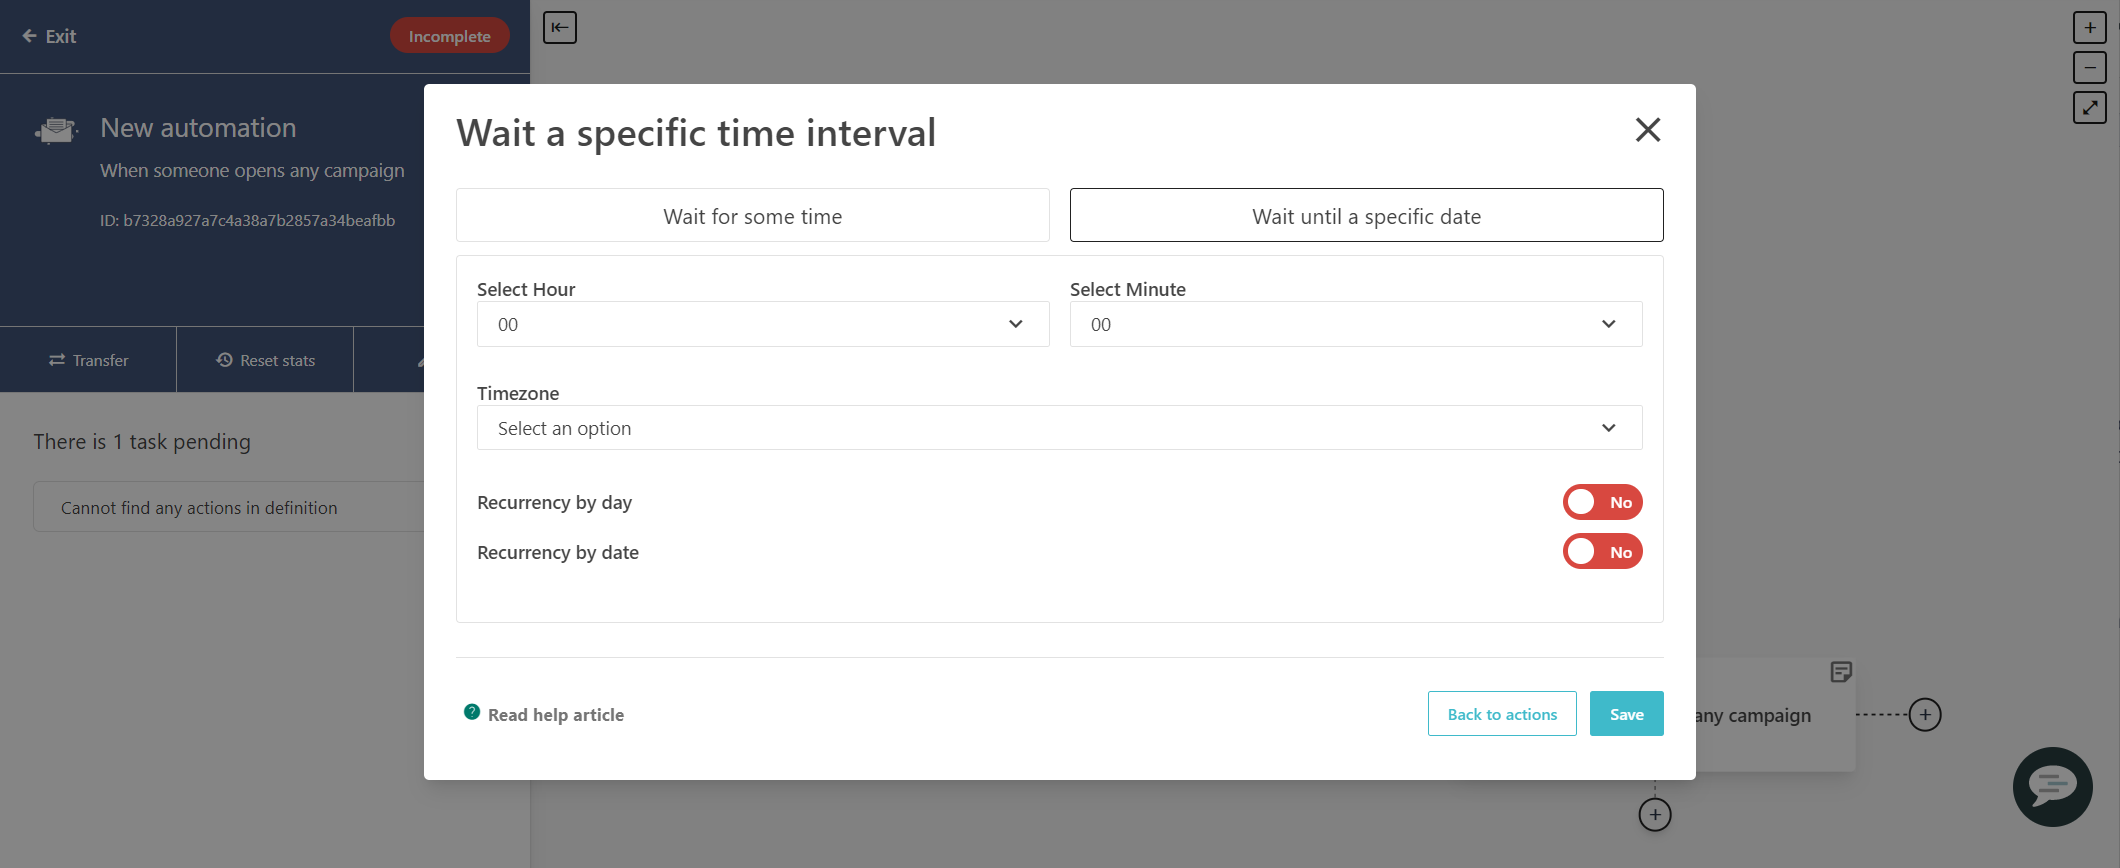
Note
If you want to select the specific day that you want the step to recur, toggle the Recurrency by day switch to Yes.
If you want to select the day of each month that you want the step to recur, toggle the Recurrency by date switch to Yes.
Click Save.