Make your email list GDPR compliant
How to add opt-in settings for your email recipients to make your email list GDPR compliant.
In Moosend, you use Opt-in settings to specify the procedure to follow when adding a subscriber to your email list, depending on whether a confirmed consent is requested.
To adhere to GDPR, you can only send marketing email messages with active, specific consent from your subscribers. You must make sure that both your existing and your new subscribers go through a double opt-in subscription process. Double opt-in registration happens when confirmed consent to receive messages is requested of the owner of an email address.
To add the opt-in settings to an email list:
On the menu bar, click Audience > Email lists.
Click the email list that you want to edit.
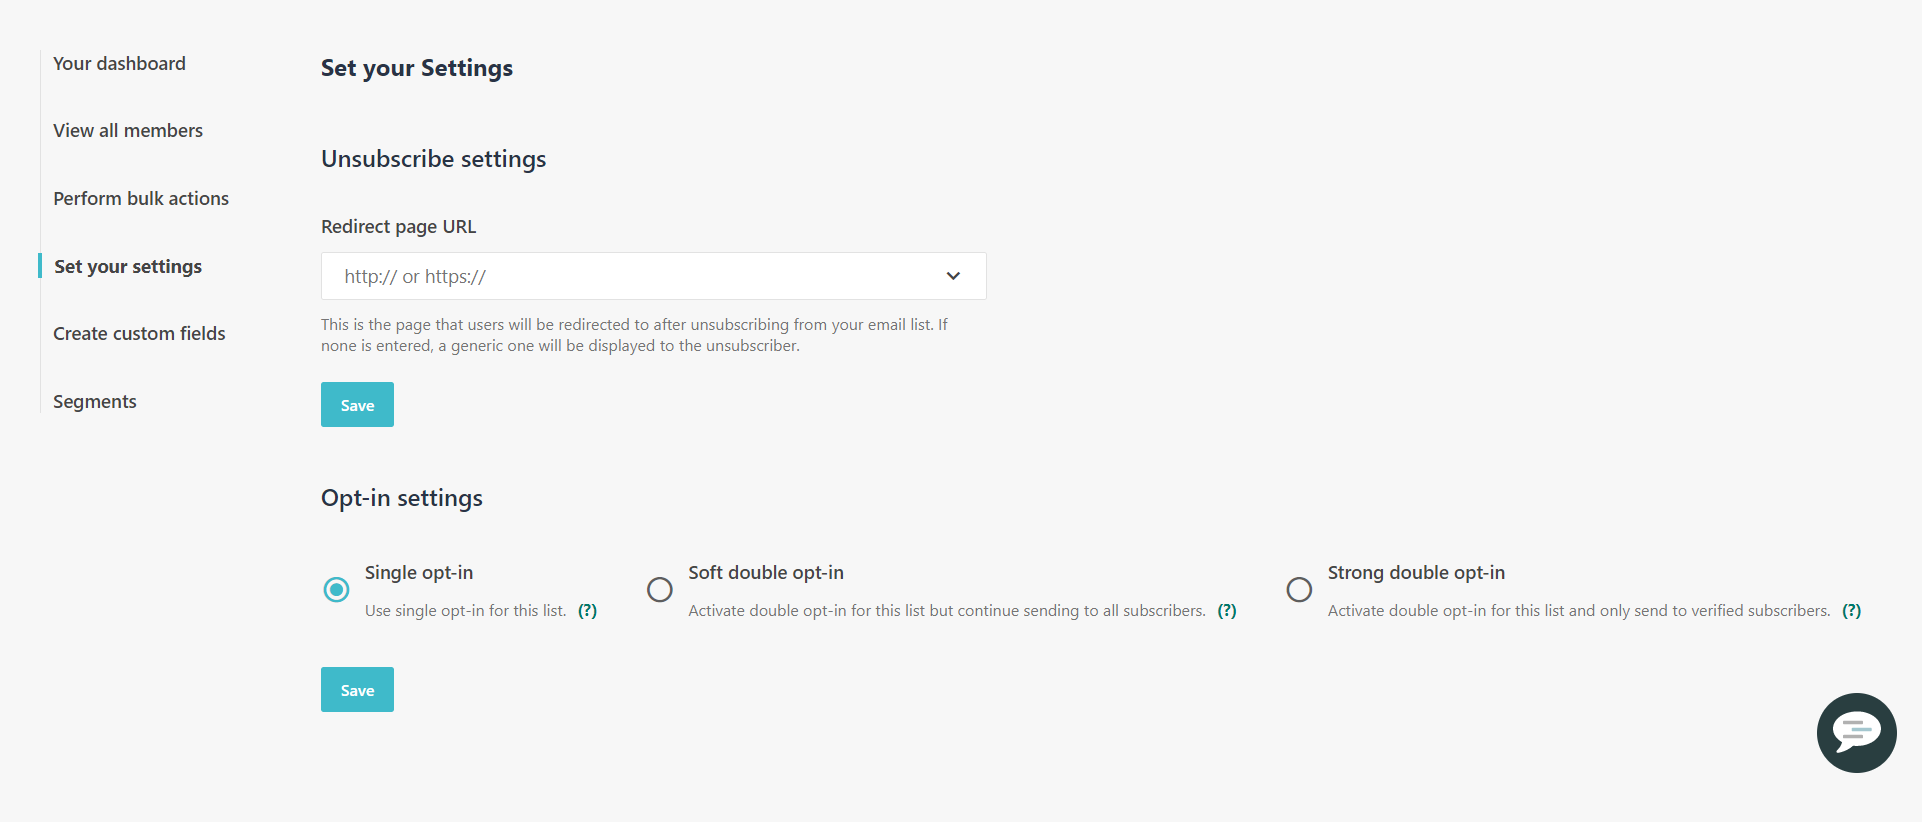
On the menu on the left, click Set your settings.
Navigate to the Opt-in settings section and click one of the following opt-in options:

Single opt-in - no process is followed to ensure that the address belongs to whomever submitted it and no formal permission was given by the owner. Only use single opt-in registration when confirmed consent to receive messages is not requested of the owner of an email address.
Soft double opt-in - a verification email is sent to members, but members will be included in your list regardless of if they verify or not. This option lets you see all members when clicking View all members on the menu on the left. An extra Double opt-in column will for each member show Verified/Not Verified/Verified by Admin.
Strong double opt-in - emails are only sent to verified subscribers. This option allows you to only see subscribers who are double opt-in verified when you click Members. Additionally, only verified double opt-in subscribers will count towards your billing (non-verified are excluded).
If you selected any of the double opt-in options, you must set up the verification email message that your subscribers receive. Fill out the following fields:
"From" name - select the email address that you want to display as the sender.
Subject line - enter the email message title, for example, Confirm your subscription to <name of email list>.
Message - check the default confirmation message. You can edit the HTML message as needed. Make sure that you include the
#VerificationLink#tag.
Click Save.
Navigate to the Landing page URL field, enter the URL of your confirmation page and click Save.
All the new subscribers that clicked the verification link and gave their consent will have the status Verified.
All the existing subscribers existing in a mailing list in your account can be segmented and you can start sending them campaigns asking them to re-subscribe through the double opt-in process.