Add an action to an automation workflow
Describes how to add one or more actions to an automation workflow in Moosend.
Creating an automation workflow requires a strategic approach to selecting and using actions. Actions are the events that bring your automation workflow to life. They represent the specific steps that occur once a trigger or a condition has been met.
To add an action to a workflow:
Click Add flow step
 below any part of your workflow where you want to add an action.
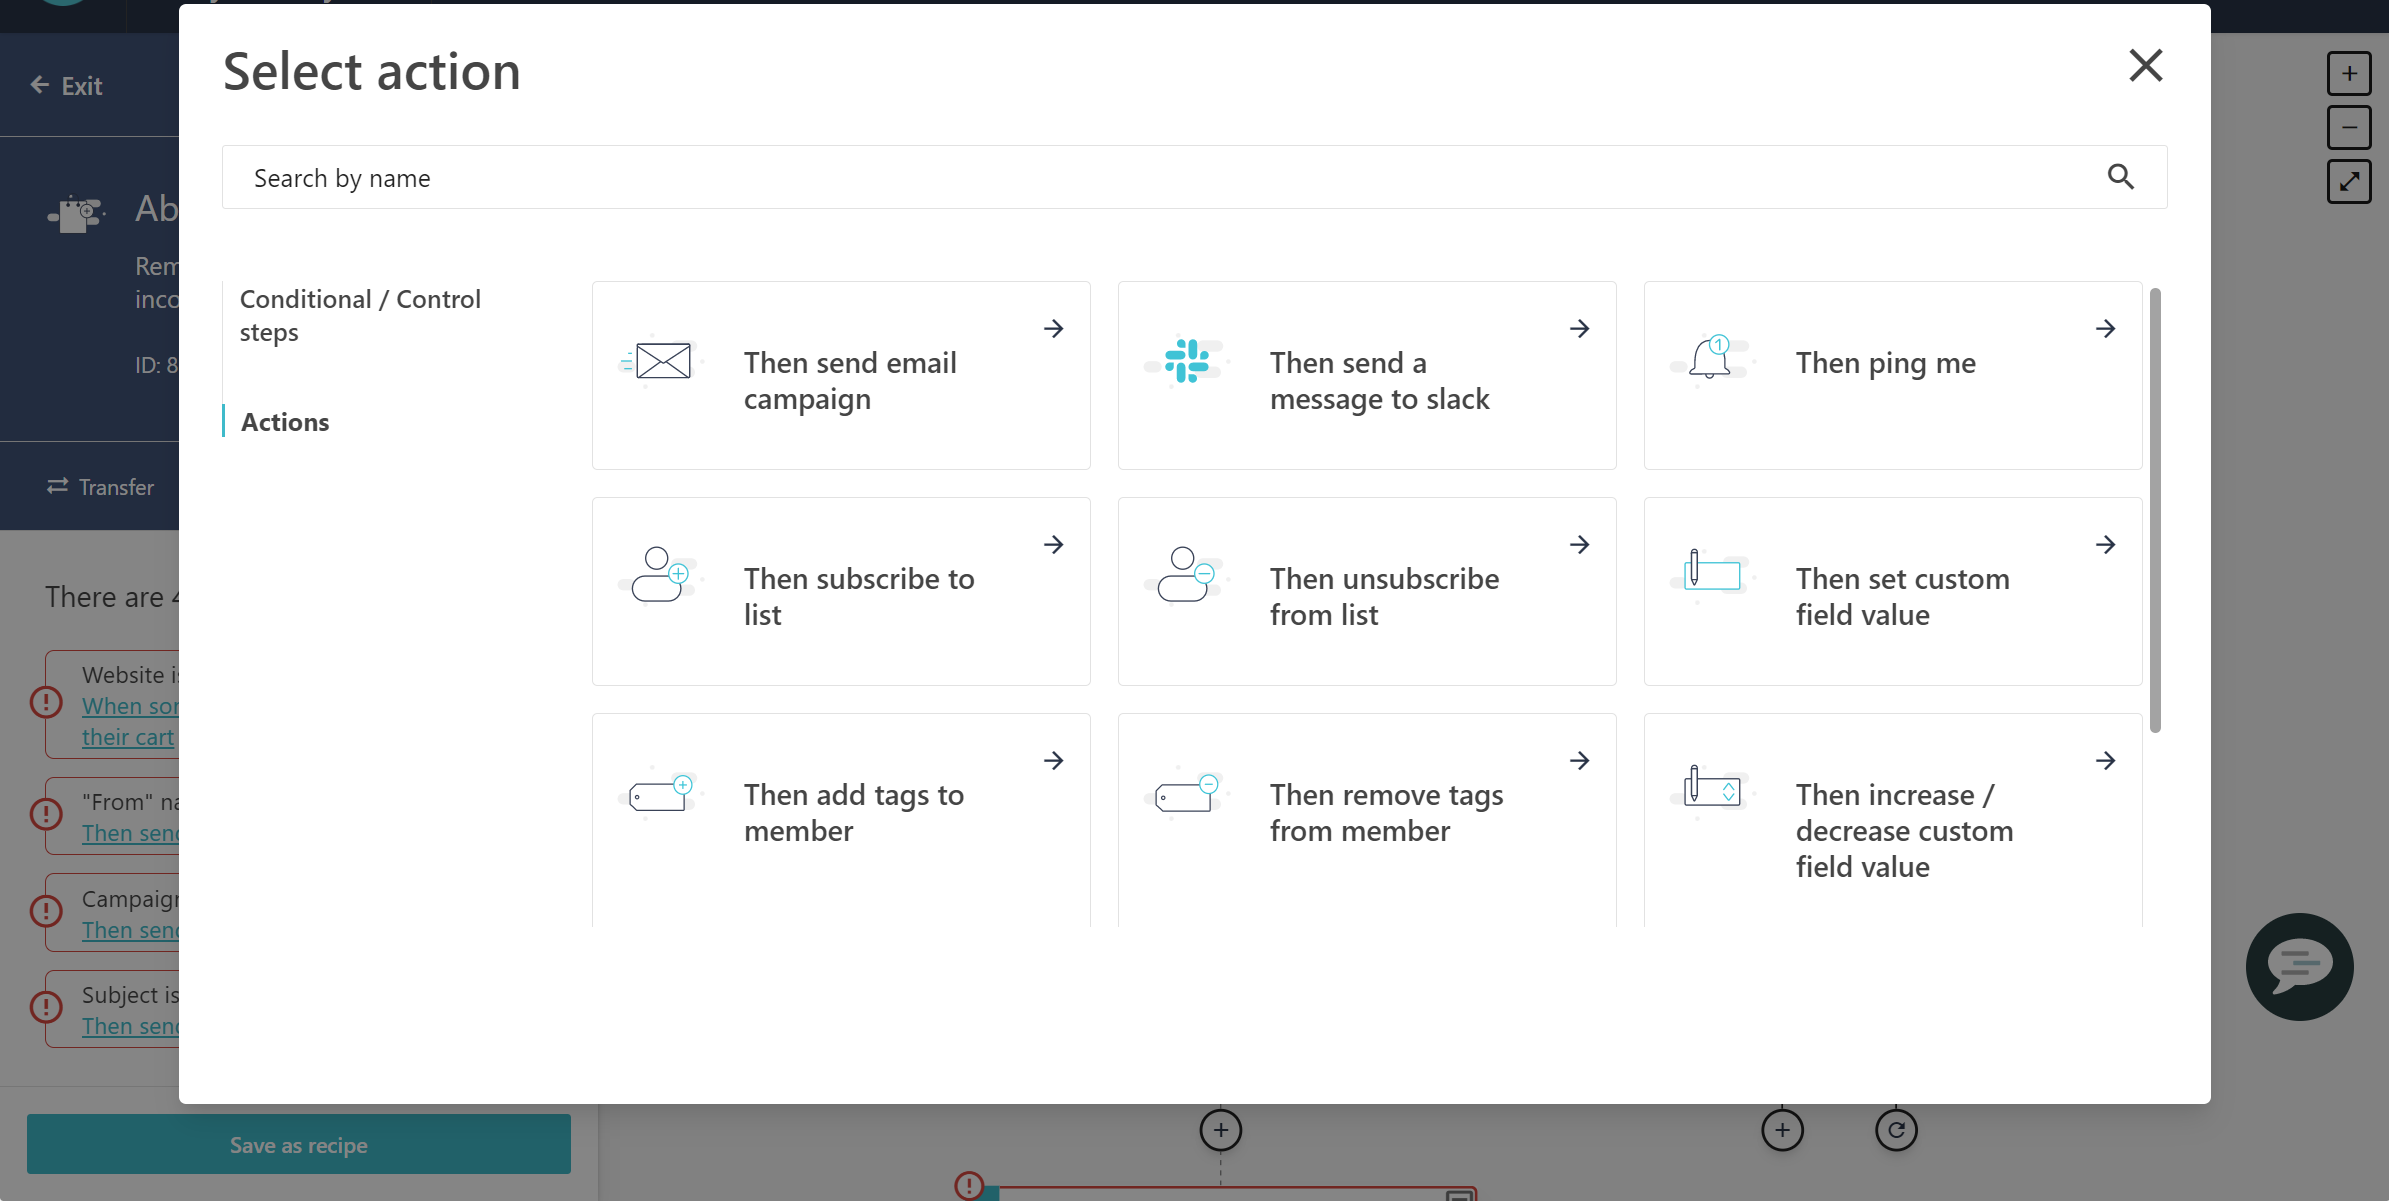
In the Select action dialog, click Actions.

Click
 next to action that you want to add to your workflow.
Here are your options:
Then send email campaign - sends an email campaign to your subscribers. You can customize the campaign content using the Rich text editor or Campaign editor.
Note
You can set the maximum number of emails this action sends to a single recipient, ranging from one email to an unlimited number of emails per day.
Then send a message to slack - sends a Slack message to a selected user, group of users, or a channel.
Then ping me - sends an email notification to one or multiple designated email addresses.
Then subscribe to list - adds subscribers to your email list.
Note
You may add subscribers as verified if you have their external consent or as non verified without it.
Then unsubscribe from list - removes subscribers from a selected email list or from all email lists associated with their email address.
Then set custom field value - updates the value of a selected custom field in your email list. The name of the email list to which the custom field belongs is indicated in brackets.
Note
You may add subscribers to the email list as verified if you have their external consent or as non verified without it, or choose not to add them.
Then add tags to member - assigns one or more tags to subscribers in your email list to categorize and track them.
Then remove tags from member - removes assigned tags from subscribers in the email list for better organization and tracking.
Then increase/decrease the custom field value - updates the value of a custom field in email list by number or percentage.
Then trigger another automation - links two automations, allowing the second automation to be triggered after a specific step in the first automation. The second automation must have an Active status to that it can be triggered.
Then post a webhook - sends a POST request with a JSON object to a predefined endpoint to connect your workflow with third party systems like Zapier through a webhook.
Fill out the required fields for the action and click Save.