Navigating Moosend
Navigate the Moosend interface using the menu bar and other items displayed on the screen.
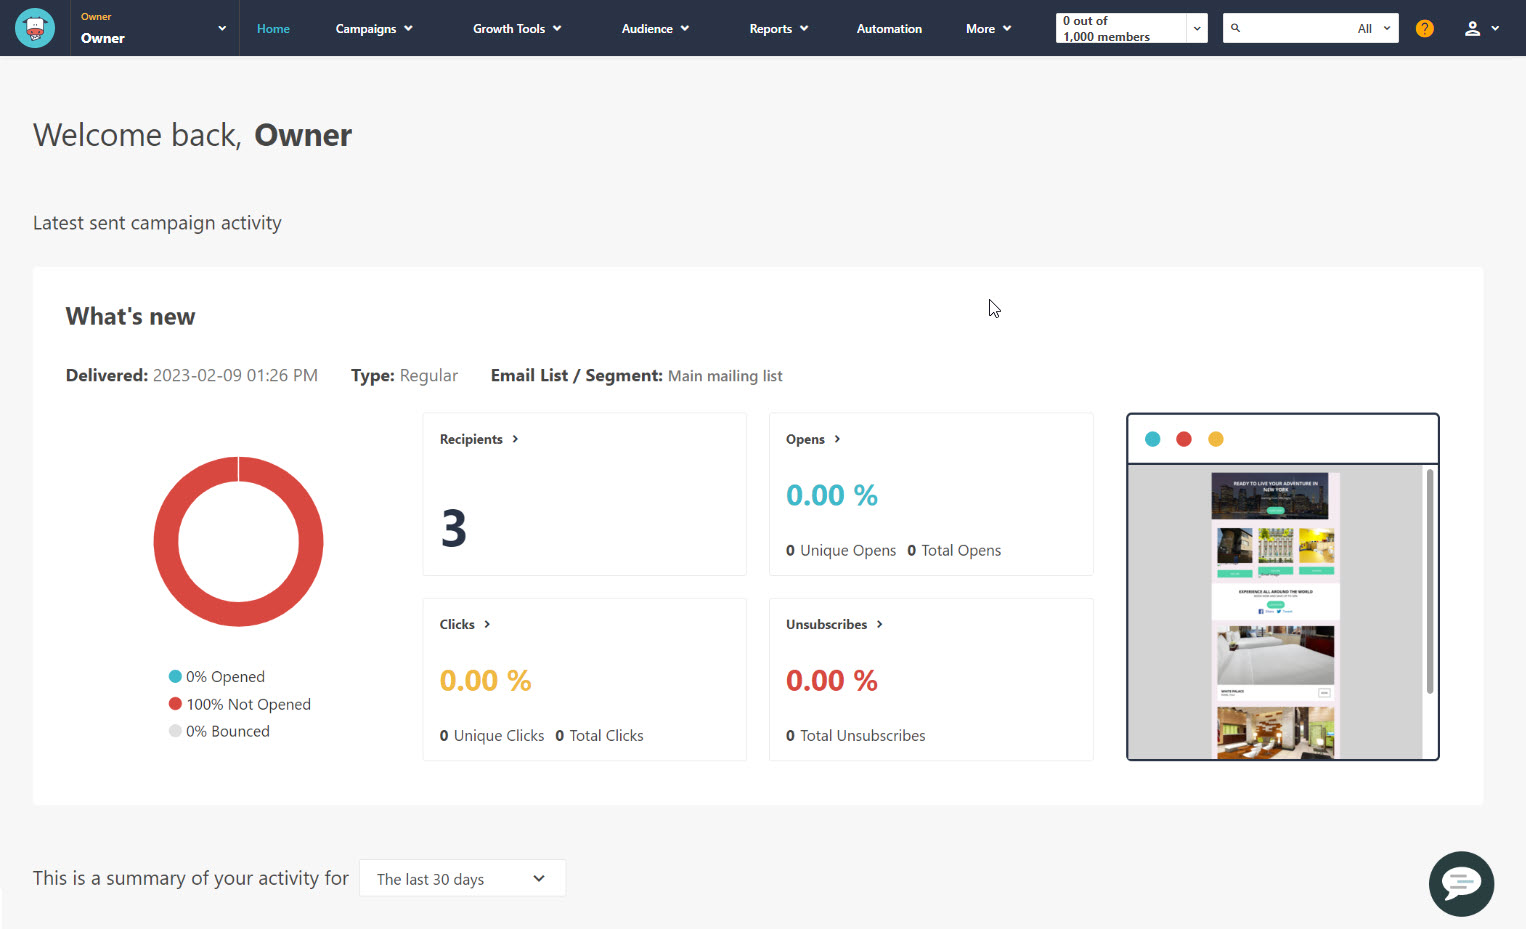
When you log in to Moosend , you'll notice the menu bar at the top of the screen. This is where you can access all the different sections of the platform and navigate between them.

You'll also see a dashboard displayed by default. If you haven't sent out any campaigns yet, you'll see the onboarding dashboard, which is designed to help you get started. However, after you've sent your first campaign, the main dashboard will be displayed, showing your latest campaign's performance and important metrics.
The following table describes of how to access the Moosend features. The items you can access depend on your account role and permissions.
UI element | Description |
|---|---|
 | Displays the Moosend logo by default. You can customize the platform logo under More > Settings, and then click Branding. |
 | Displays the name of the account owner. If you added clients to your account, click the arrow to work with client subaccounts. |
Home | Click to return to the main dashboard. |
Campaigns | Click to create, edit, or view: regular, RSS, repeatable HTML, and A/B testing campaigns. |
Growth Tools | Click to create, edit, or view landing pages and subscription forms. |
Audience | Click to access email lists or segments in your email lists. |
Reports | Click to view statistics in default campaign reports and any custom reports you created. |
Automation | Click to create automations using recipes or build your own custom automations. |
More | Click to access: |
 | Displays your current subscription plan, including your credits, active subscribers, and subscribers limit. |
 | Use the search bar to easily find any campaign, landing page, form, lists, segments, members, and custom reports in your account. |
Click to access help topics from the Moosend documentation site. | |
Click to access:
| |
 | Click to access the Moosend customer support chat. |